This is the original photo by Paul Sawford (below)

Firstly I traced the tiger out onto 350 gsm watercolour paper, textured, by Seawhite of Brighton, making sure that I denoted changes of shape and tone.

Next I masked off any smaller whiskers and hairs that would overlap darks. I used white masking fluid from Winsor and Newton and a nib pen.

With the exception of a few areas that I wanted to leave paint-free, I applied a light wash of very diluted lamp black watercolour to the whole piece. I didn’t worry about blooms because I knew that they’d be hidden by subsequent layers. Whilst wet, I pulled out some of the fur with a thin rigger brush.

Next I applied my darkest tones. This means that it’d be easier for me to work out a range of mid tones later.

I then went onto apply a range of mid tones working wet on dry and wet into wet, predominantly using a round synthetic size 12 brush, regularly swapping to a rigger if I needed flicks. These techniques created a mix of hard and soft edges. I made sure that some of my lighter under layers peeped through. This helped preserve the sense of depth.

Finally I added black watercolour and white acrylic ink splashes. I rubbed of the masking fluid and knocked the brightness back by adding a little light black watercolour

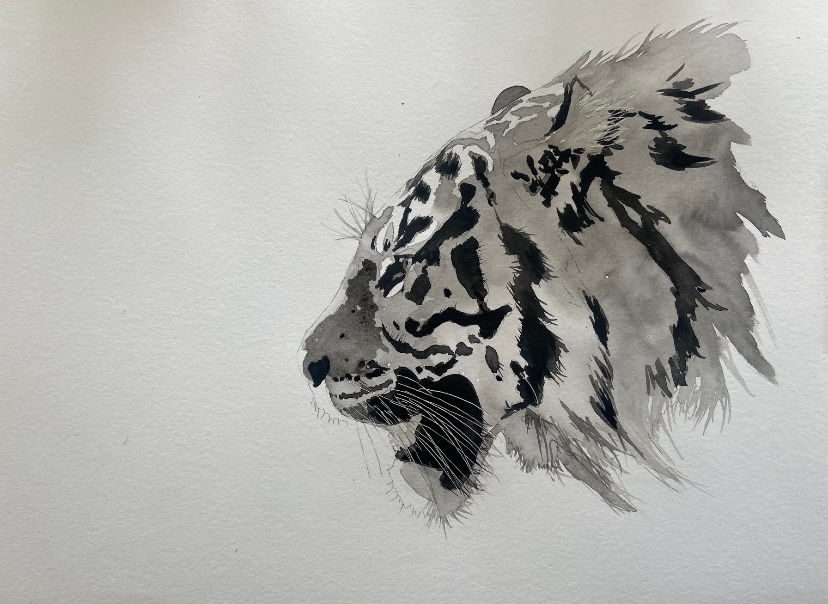
The finished piece!

Watch video...

![SARAH STOKES LOGO [BLK].png](https://static.wixstatic.com/media/2781d1_6a3d829b05b14b068fa55ca473f34451~mv2.png/v1/fill/w_167,h_139,al_c,q_85,usm_0.66_1.00_0.01,enc_avif,quality_auto/SARAH%20STOKES%20LOGO%20%5BBLK%5D.png)

Hi Sarah
How much did it take For you to complete the tiger?